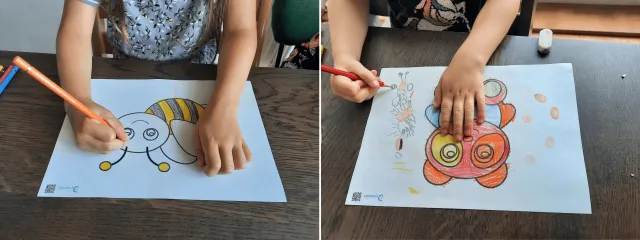
The goal of this handwriting activity is to adjust the pressure from the hand (with and without a pencil). In doing so, the child learns to consciously notice and identify the different pressure levels, both when drawing and writing, as well as when making fingerprints. Which pressure needs the hand to be relaxed? When does the hand need to be tensed? Find out the optimal pressure together with your child. Targeted encouragement of pressure adaptation contributes to fluency in writing, improves writing quality, and relieves pressure on the hand and finger joints.
Colored pencils, ink pads or watercolors, printed templates (see resources below).

Begin by selecting the colors you want to bring your picture to life with. As you color the picture, experiment with different amounts of pressure.
Give your artwork a personal touch by designing your background. Whether it's a serene landscape, a bustling cityscape, or an abstract backdrop, let your imagination run wild.
All artwork deserves a name! Write the title of your creation directly onto the picture, varying the amount of pressure you use to write each letter. This adds an artistic element to the naming process and makes your artwork even more unique.
Apply gentle pressure for darker colors and increase the pressure for lighter shades.
Get creative with fingerprint art! Use ink pads or watercolors to create different fingerprints around your unique drawing. Try using various fingers and apply different levels of pressure when pressing your fingers onto the paper.
You might also like:
The digital handwriting activities for kids are both engaging and ideal for learning to write well in a personalized way
The handwriting assessment for kids quickly evaluates writing quality, including legibility and form
The handwriting worksheets for kids are available in many fonts, both cursive and manuscript, in an easy-to-print PDF format